This blog would help you to get started with launching an EC2 in AWS Cloud. In this blog, we would cover below points
- How to launch an EC2
- SSH to EC2 Instance
If you are new to EC2, then would suggest to go through my previous blog. (link)
- Login if you have an AWS account. If not then create your account here (link)

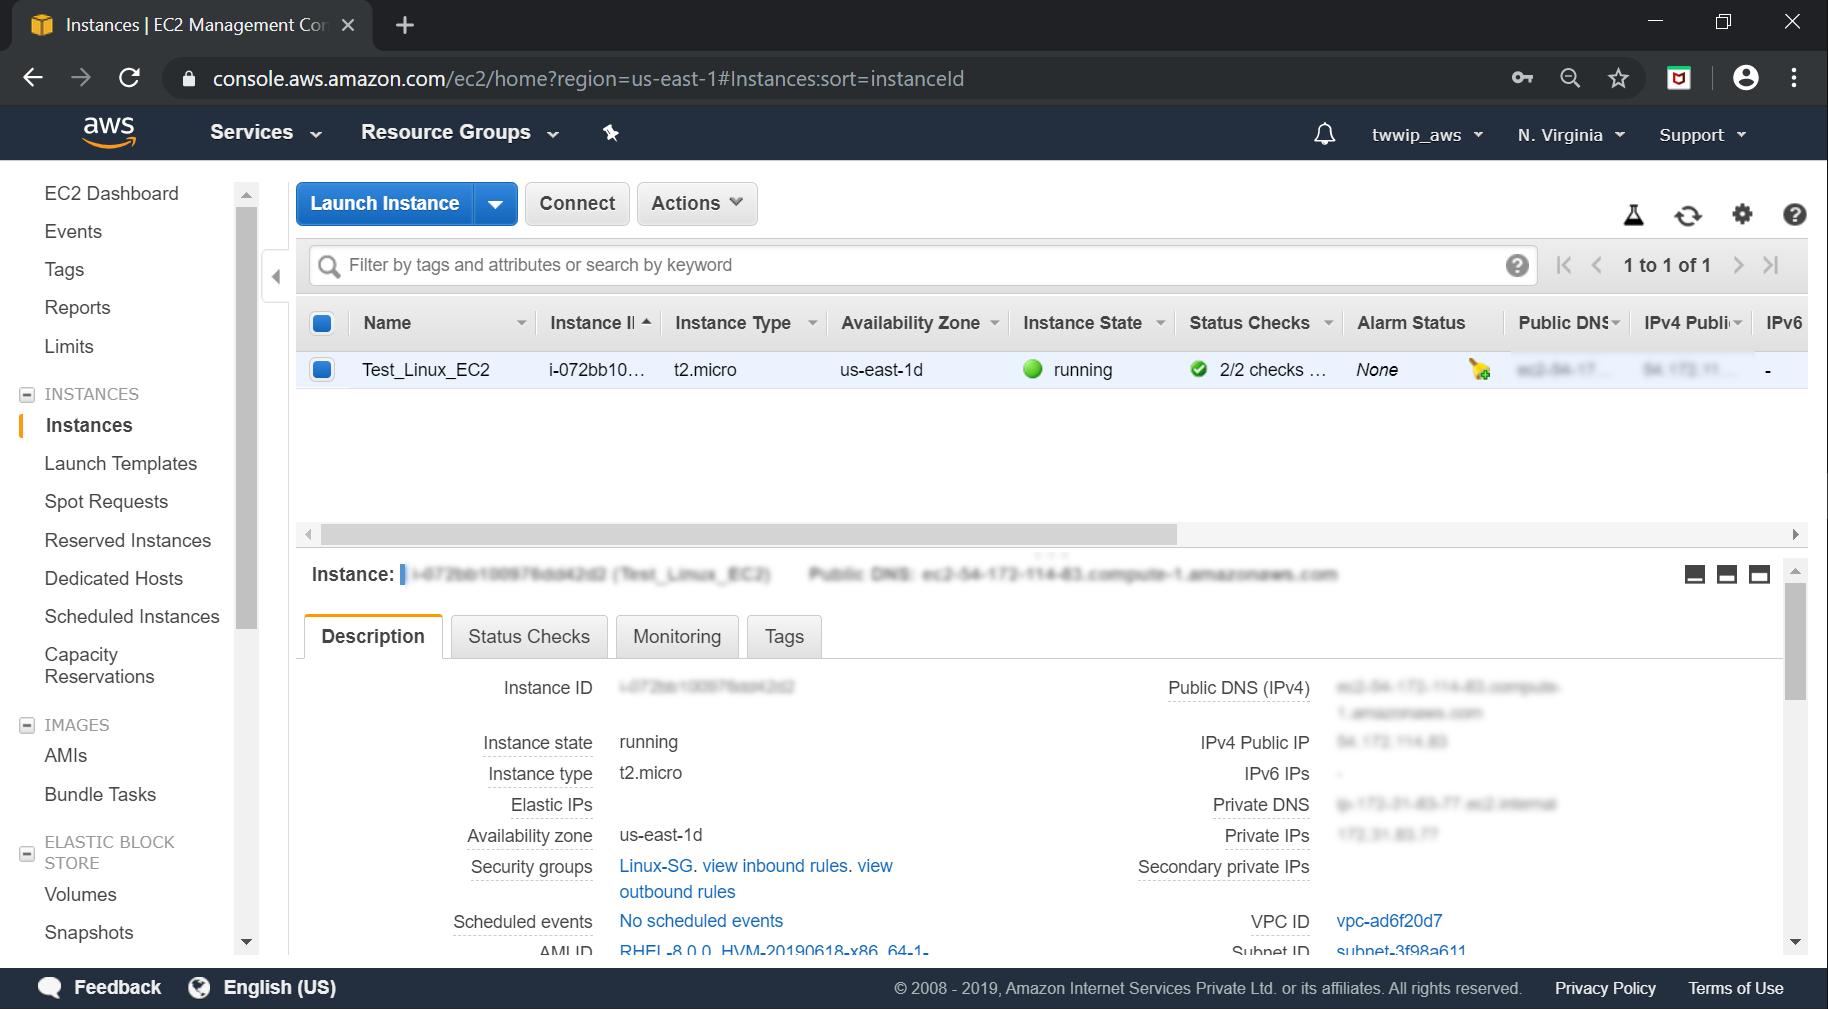
2. Go to AWS EC2 Service

3. Click on Launch Instance

4. Select Free Tier RHEL AMI (64-bit x86)

5. Select t2.micro instance type (Free Tier Eligible)

6. Click on Configure Instance Details
In Instance Configuration, the VPC & Subnet are selected as default. With this option, your instance would be launched in N.Virginia default VPC. For opting some other parameters such as Monitoring, Tenancy, Elastic Interface, T2/T3, additional cost would be charged

7. Click on Add Storage [If you need an another Storage device, then you need to select Add New Volume]

8. Click on Add Tags

9. Click on Configure Security Group [Make Sure port 22 is open to SSH to your EC2]

10. Launch Your Instance

11. Click on Launch and It would ask you to create a new key-pair. Once you created, download it and make sure to save it in safe location. As you won’t be able to replace it further

12. Click on Launch Instances
13. Download putty (link) and puttygen (link).
This would be require to connect to your instance. Putty is required to securely connect to your instance using SSH on port 22 & puttygen is the key generator for your putty on windows.
14. Convert your downloaded key-pair from .pem to .ppk format for EC2 connection on windows. Open puttygen–> Conversions–> Import Key –> Save Private Key
This would save your private key in .ppk format. Now we would use the same .ppk key for SSH authentication

15. Open Putty. In Host name, provide either Public IP, Public DNS
Then go to SSH (Make sure port 22 is Selected)–>Auth–> Browse–>Provide your .ppk file

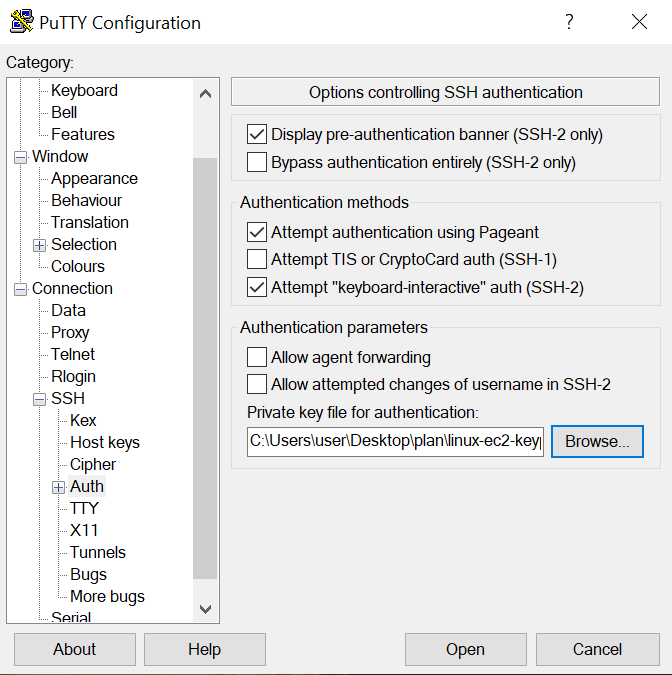
If you want, you could also save the connection with a specific name like below and then click on save. So that you could use the same connection without providing all these details again

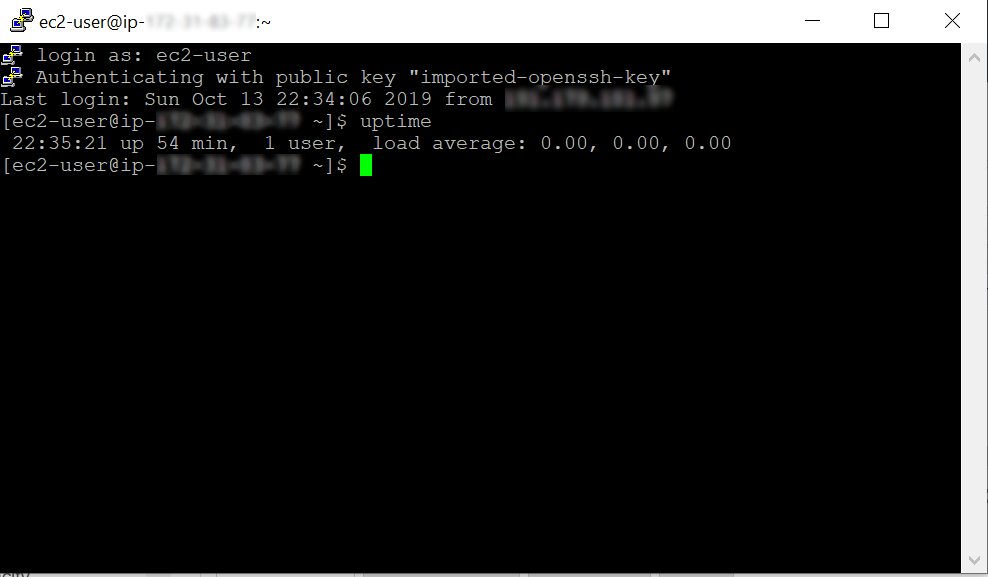
16. Click on Open. This would prompt below message. Just click Yes & then provide the login name as ec2-user to login into the instance

This blog explained how to get started with launching an EC2 in AWS. I hope this helps & you should be good enough to launch your first Ec2 in your AWS environment.